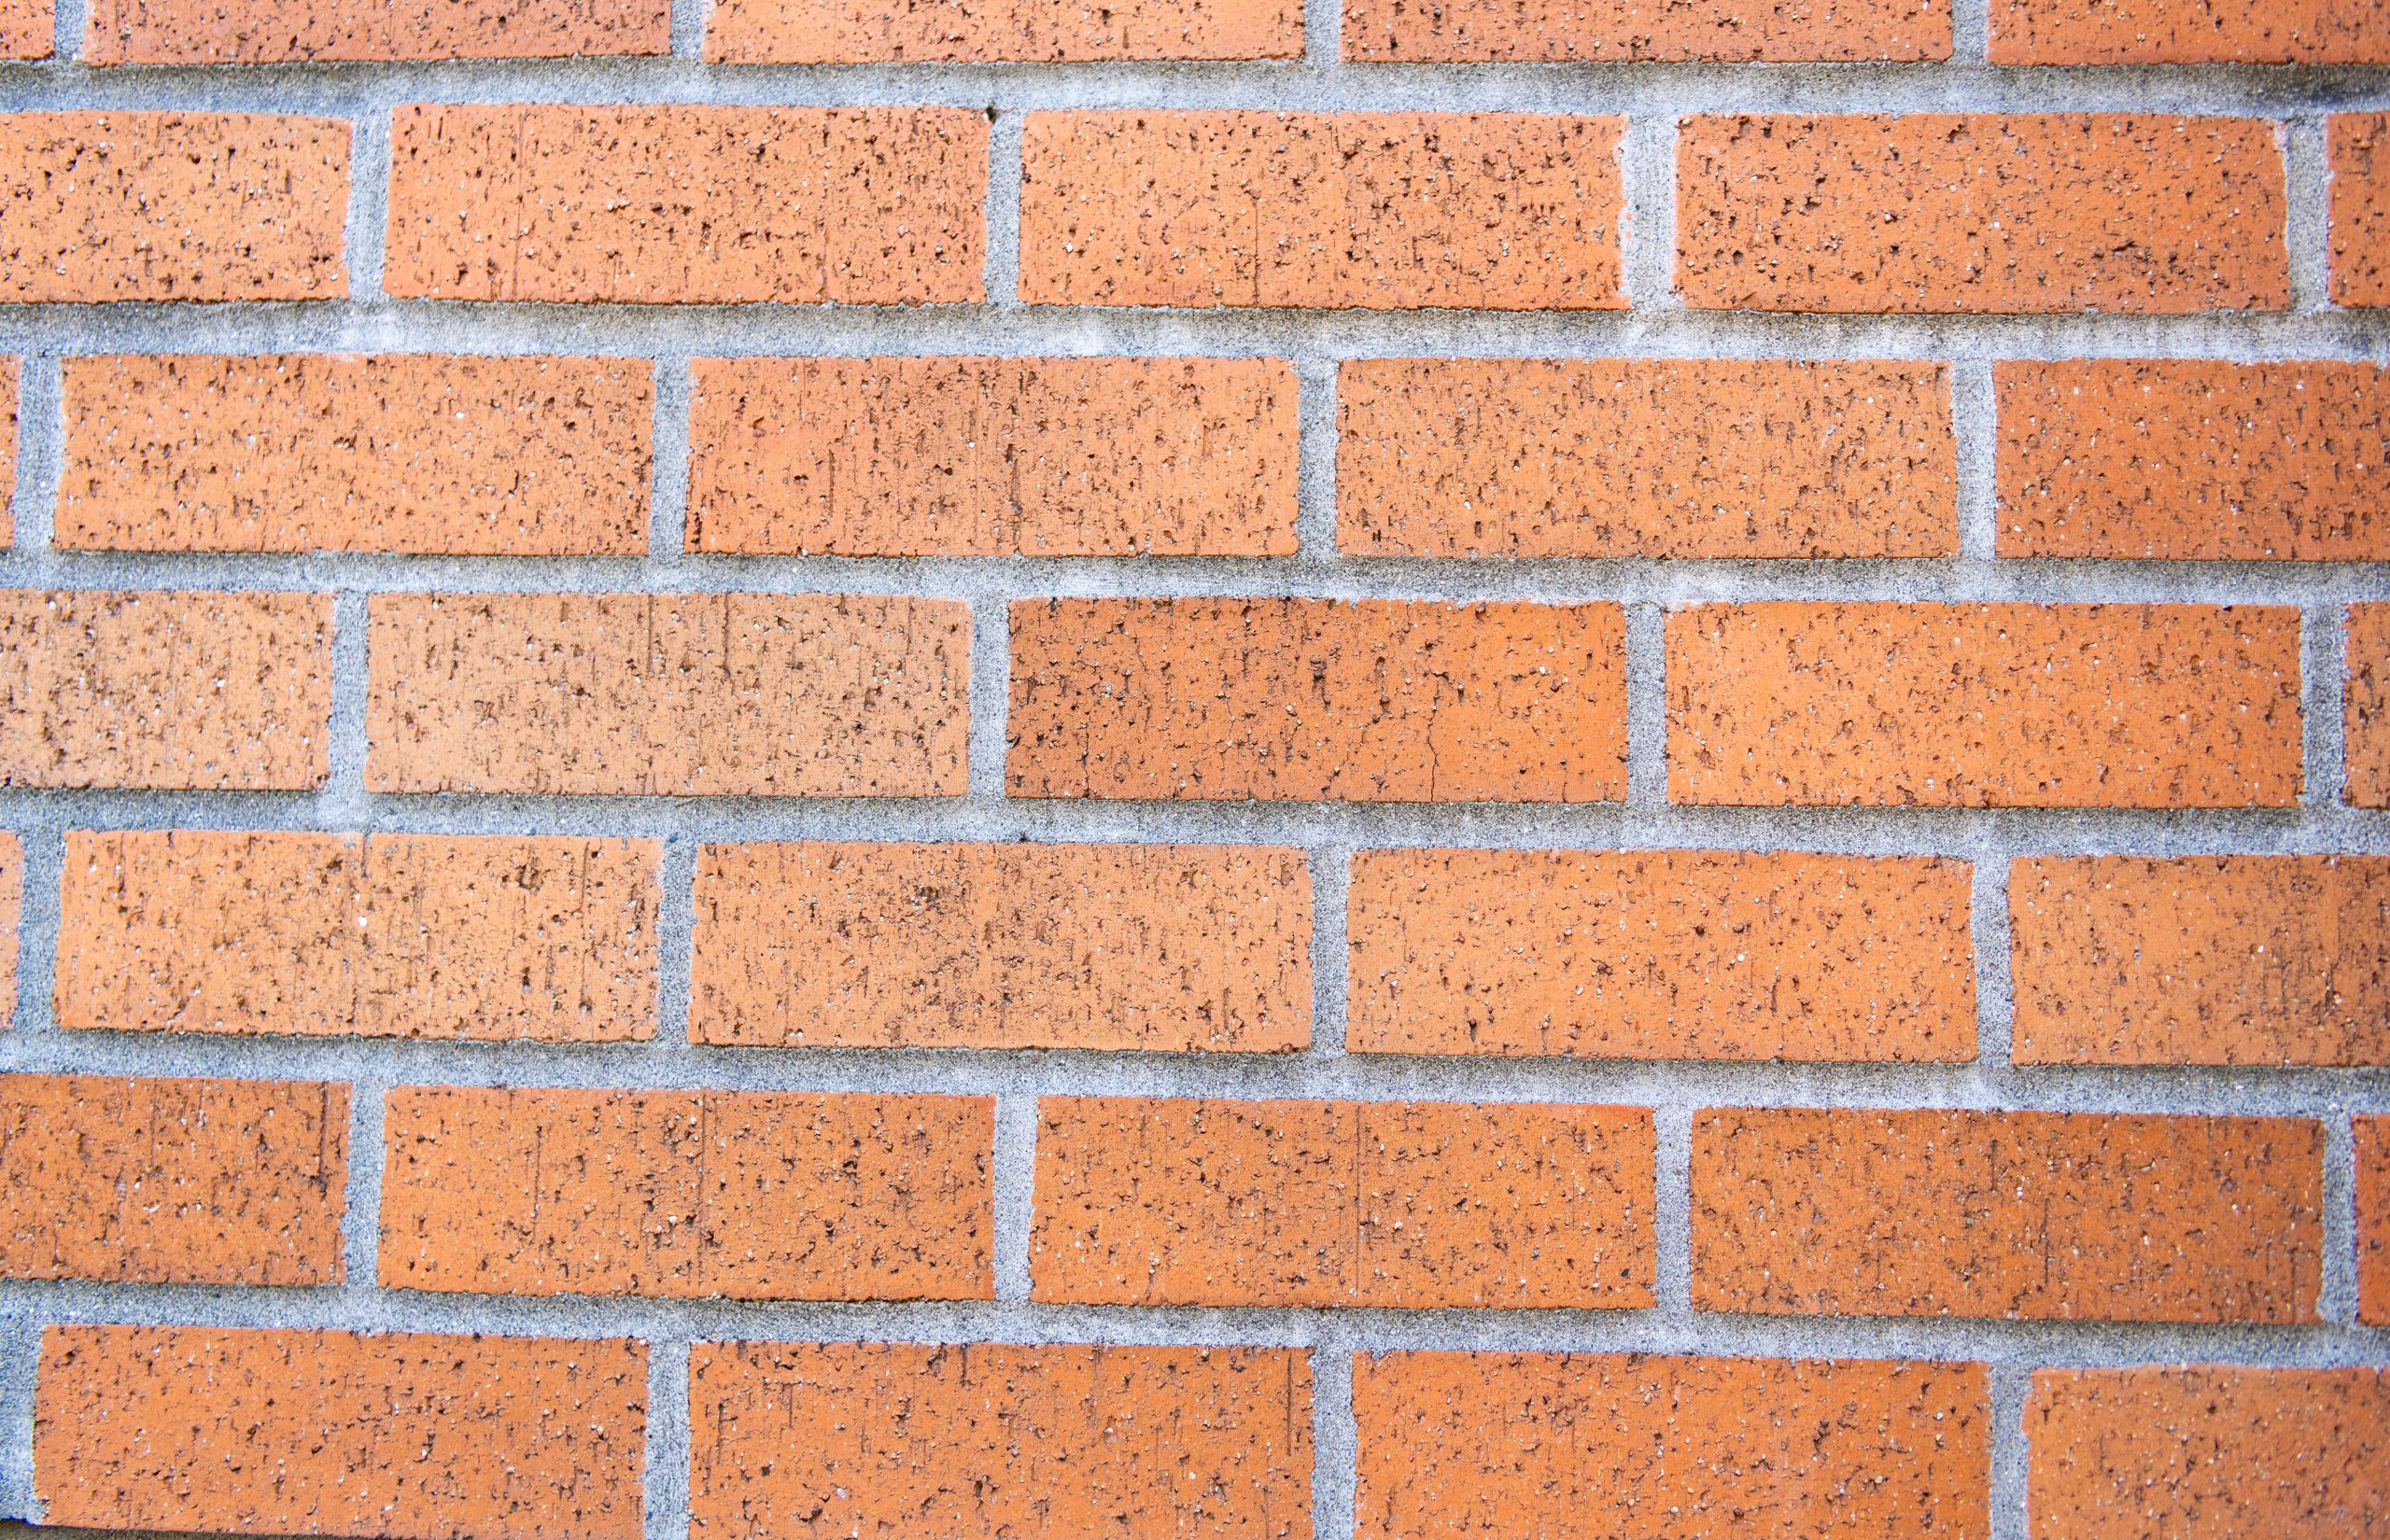
Everyone loves a good DIY project—but some things are better left to the pros. Tuckpointing, for example, is one of the most deceptively difficult home repairs out there. Sure, you can buy mortar and a trowel—but do you know how to assess joint depth, match mortar color, or prevent thermal cracking?
If not, you could do more harm than good.
What Makes Tuckpointing So Tricky?
It requires:
- Proper removal of old mortar (usually ¾” deep)
- Clean joints for bonding
- Matching mortar properties (strength, color, consistency)
- Controlled curing conditions
- Finishing techniques to ensure drainage
Skip any step, and the entire job may fail.
What DIYers Get Wrong
- Using quick-set or cement-based mortars that are too strong for old bricks
- Leaving gaps or air pockets
- Applying mortar during unsuitable weather (too hot, too wet, too cold)
- Failing to compact the mortar into the joints
- Smearing mortar onto bricks (leaves permanent stains)
What Professionals Get Right
Masonry contractors near me Arlington Heights understand:
- Local building codes
- Historic preservation techniques
- Moisture control strategies
- How to protect surrounding structures
Their tuckpointing work is durable, clean, and guaranteed to hold up under weather and time.
DIY tuckpointing might save you money upfront—but when the walls start crumbling or the chimney leaks, you’ll wish you’d called in the pros. Let trained masonry contractors handle the job right the first time. Your bricks—and your wallet—will thank you.